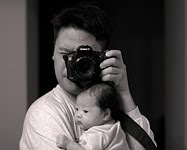
Sunday, January 17, 2010

Musings on my new toy - The Canon 7D.

Before I get on with this entry, I would like to make an announcement. For the longest time I have been searching for the best way to display and share my photos. I originally tried to print them out as an 8x10 photo, frame them and hang them on my wall at home. However, the relatively small pictures seem to lose their impact when displayed against a large wall. I then used Blurb.com to publish my own book with my photos. Again I was disappointed in the photo quality. My pictures lacked the contrast, color hues and sharpness that I worked so hard to achieve. I finally decided to make my own website. I enlisted the help of my brother Richard and the later my cousin Bic. Creating a custom website from scratch turned out to be much more difficult an undertaking than I originally imagined. I finally came across an image hosting website called Zenfolio. I really liked its professional look and customizable features. It had everything that I wanted without the hassle of having to learn HTML or Java to maintain and update it.

So finally I would like to present My Photography Collection.

I would be honored if you clicked on the above link and take a peek at my site and tell me what you think.

1) Anna's Hummingbird.


I scoured all of the photos that I have taken since getting into photography 4 years ago and have selected only the best for you guys to see. The easiest way to go through the photos is to keep on clicking the photo you want to see until it is displayed full size. Then you can click on the right button to advance the slide show through that particular gallery. You may see some familiar faces and interesting subjects that I have photographed over the years. I will still keep up with this photography blog though. They each have a different purpose. The zenfolio site is more of an archive/portfolio of my best work whereas this blog will display my latest shots and musings on photography.

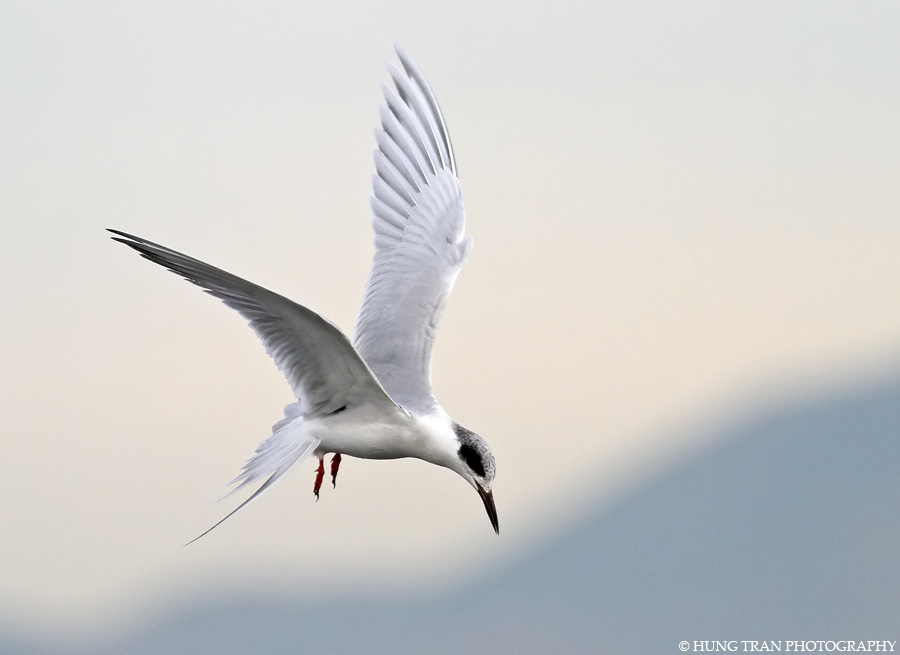
2) Immature Forster's Tern.

In other news, I have finally upgrade my camera body. I have finally replaced my aging Canon 20D. I had originally bought it refurbished off ebay for $600. What a bargain! It has served my photographic needs without fail for the past 3 years. I had resisted the urge to upgrade to the 30D, then 40D, and then 50D. With each generation of camera body came more advancements in technology. I pushed and pushed my old 20D to it's limit trying to squeeze every bit of image quality and performance out of it. Finally canon released the 7D late last year. At that point, I felt that it was the right time for me to finally upgrade.

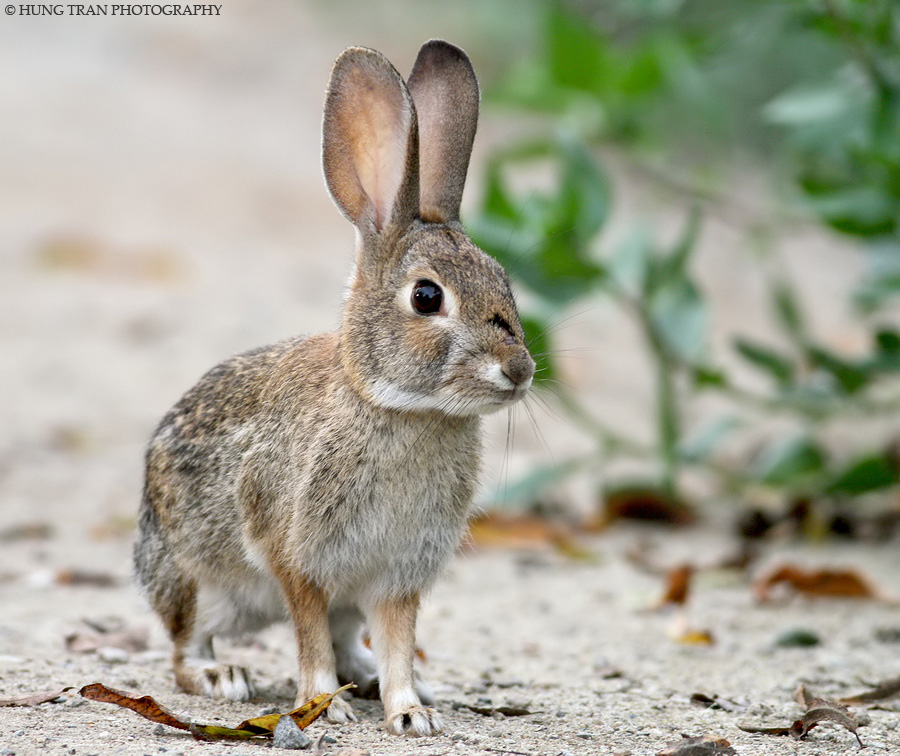
3) Little Bunny Rabbit.

You see, if there was one particular area of photography that I consider my "specialty" it would be nature/wildlife photography. I enjoy photographing animals in the wild. Unfortunately the majority of animal life here in socal would have to be birds. It's not like we have elephants and zebras roaming around at the local park for me to photograph. Photographing birds in their most natural state (flying), is truly an art form and demands the most out of the autofocus performance of the camera. With the 20D, I was able to bring home some shots of the birds flying but there were also plenty of misses. The biggest difference between the 20D and the 7D is that the 7D has 2 separate microchips dedicated to just one thing, autofocus. Also when you hold down the shutter release, the camera shoots at a blazing 8 frames per second. The end result is that the 7D focuses and locks onto difficult moving (and in my case, flying) targets with amazing speed and accuracy. With the added 8 frames per second, it's like shooting with a machine gun. Oh how much fun I have with this new camera body. The final end result is that I come home with so many more keeper shots now.

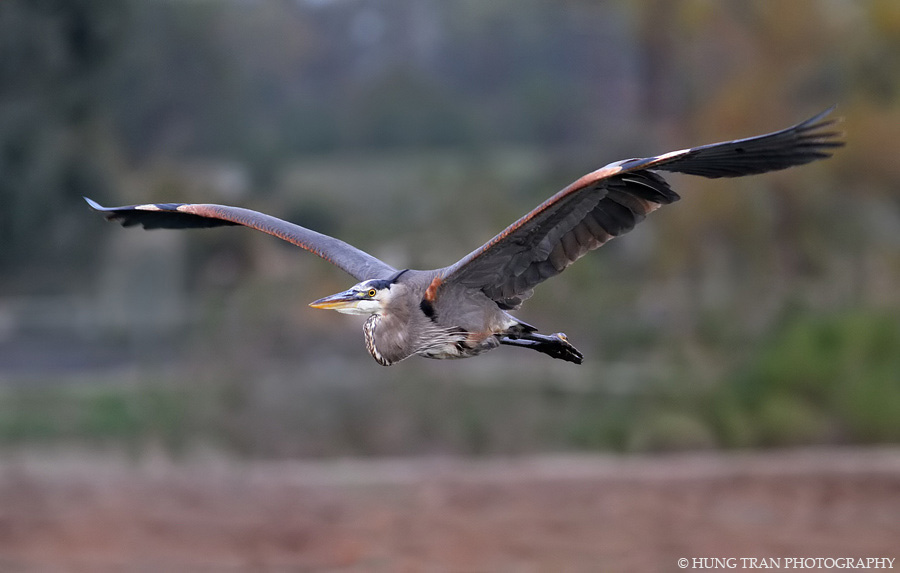
4) Great Blue Heron.

Another big difference is the buffer capacity of the 7D. When it comes to action shots, I often hold down the shutter release to fire off a burst of shots to capture the action. My old 20D had a very small buffer and could only take about 23 shots in jpg until it ran out of memory space in the camera. The camera would then freeze up and stop shooting while it slowly tried to download the files onto the memory card to free up space. 23 shots might sound like a lot of shots but when you are trying to capture an action sequence like a diving osprey, you will run out of buffer very quickly and there have been times when I missed out on an important photo opportunity because my buffer filled up and locked up my camera. Now with my 7D, it has a buffer capacity to temporarily hold 126 jpg files before it runs out of space. That's huge.

5) Great Egret.
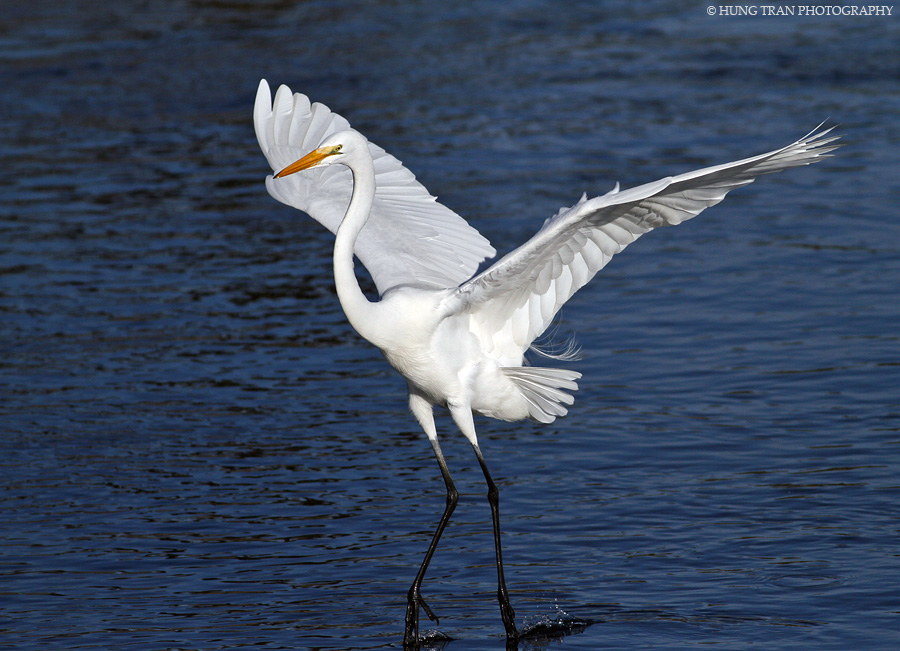

Another important feature that everyone always pixel peeps about is the ISO capability of the camera. Simply put, in order to get a properly exposed shot, there is a relationship between your aperture size (the size of the hole in the lens that lets light into the camera), your shutter speed (the time your camera lets the light in before it closes the shutter) and the ISO. These 3 parameters are all needed to get a properly exposed shot. The less light that you have, then the longer the shutter speed you need to capture the image or else you get a blurry shot. Not enough light will give you a dark underexposed shot and also a slow shutter speed. Slow shutter speeds will result in blurry shots due to either the movement of your hand holding the camera or the subject moving. So this is where ISO comes into play. ISO is a technological feature of your camera's computer system. It helps you to compensate when you do not have enough light to properly expose a shot. If you are shooting in low light, then you can increase the camera's ISO setting to increase the shutter speed artificially so that you can get a sharp and well exposed shot. However, there is a drawback of course. The higher the ISO setting you use, the more "digital noise" you will get in your image. You will see it as grainy spots of digitalized color in your shots that actually degrade how clean the shot looks. Simply put, more advanced and expensive cameras give you the advantage of being able to use higher levels of ISO and get less noisy shots. From my brief experience so far with the 7D, it does appear that the ISO capabilities are better than my 20D. The noise that I do get with the 7D also seems to be more easily cleaned up with Noise removal software like Neat Image.

6) American Widgeon.
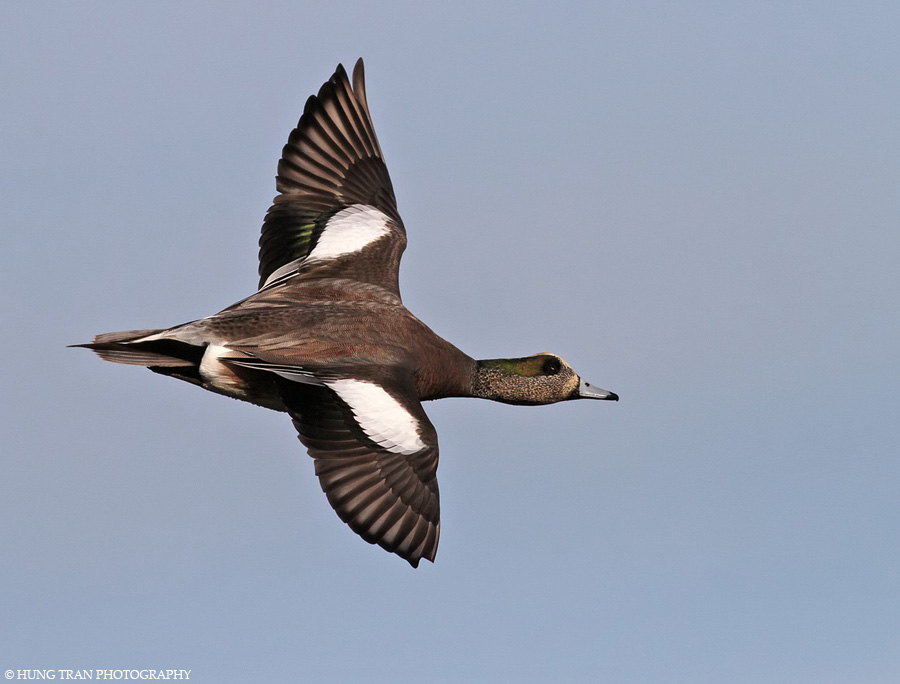

Another big difference between the 20D and my new 7D is the megapixels. My 20D had 8 megapixels whereas my 7D has 18 megapixels. With the larger images, I was able to crop my photos more and still get very usable images. When it comes to photographing animals in the wild, they usually do not let you get up close to them to take their picture. Most of the time unless you are at the local park feeding ducks with stale bread, most wild animals will fly off or scurry away if you try to get close to them to take a shot. Thus I will often come home with shots where the subject in my image is quite small looking. With the larger megapixel count, I can still crop that image and blow it up and still get a very usable shot. Definitely a helpful upgrade for my type of photography.

7) Reddish Egret fishing in the shallows.


Another great upgrade for me was the size of the view screen on the back of the camera. My 20D had a 1.8 inch view screen. It was tiny and I hated it! Often when reviewing my shots in the field, I could not determine if the shot was sharp or slightly off because the screen was so small. It was like reviewing images on a camera phone. However, with the 7D it has a beautiful 3 inch hi resolution screen that is brightly lit. I can clearly see so much more details on my pics when I need to screen them out in the field. This gives me more accurate feedback in regards to the quality of the shot. Is the focus slightly off? Is the exposure off? This is important because the better I can determine these factors in the field, will let me know if I need to reshoot. With my 20D's tiny view screen, I would sometimes come home thinking I had some great shots only to review the images on my computer and find that they were out of focus and not useable. However, with my 7D's beautiful view screen, I love reviewing my pictures out in the field.

8) Peregrine Falcon taking off.


Another fun feature of the 7D is that it comes with HD video capability. I can shoot short movie clips now. I played around with it over the holidays shooting my kids and am excited to learn more about this medium. It is my goal to be able to shoot video, edit it and then post them on the internet to show you guys. It will probably be of my kids and family. But I would also like to make some videos of nature, wildlife and sports (when my kids get old enough). Right now I am in the process of finding a video editing software to edit my movie clips. Anyone have suggestions?

9) A pair of Northern Shovelers.
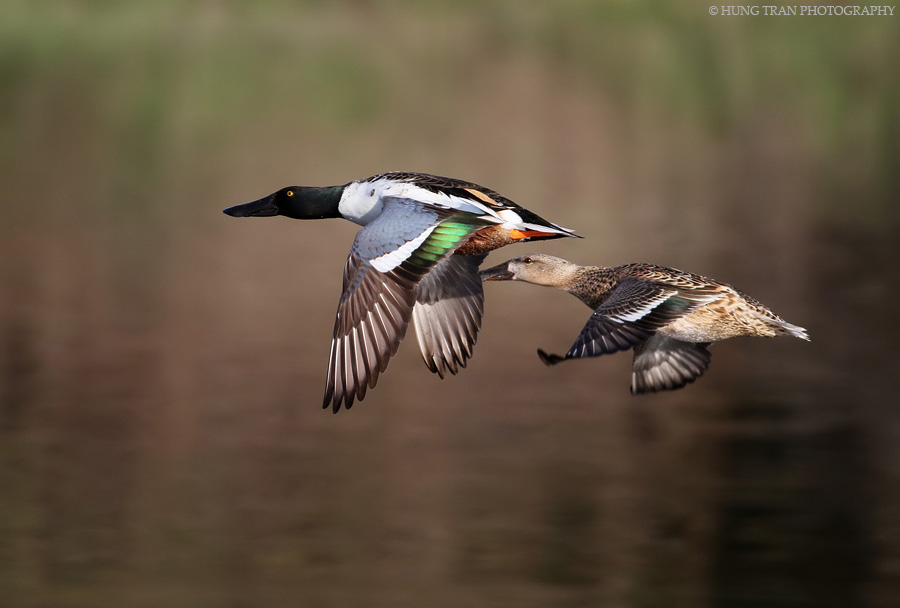

Those are the biggest features that I have noticed so far from using the 7D in the field. They are very nice upgrades that directly improve my capabilities as a photographer. In this entry I have posted some recent shots that I have taken with the new 7D. I hope you enjoyed them. More to come!

10) Northern Shoveler Drake.
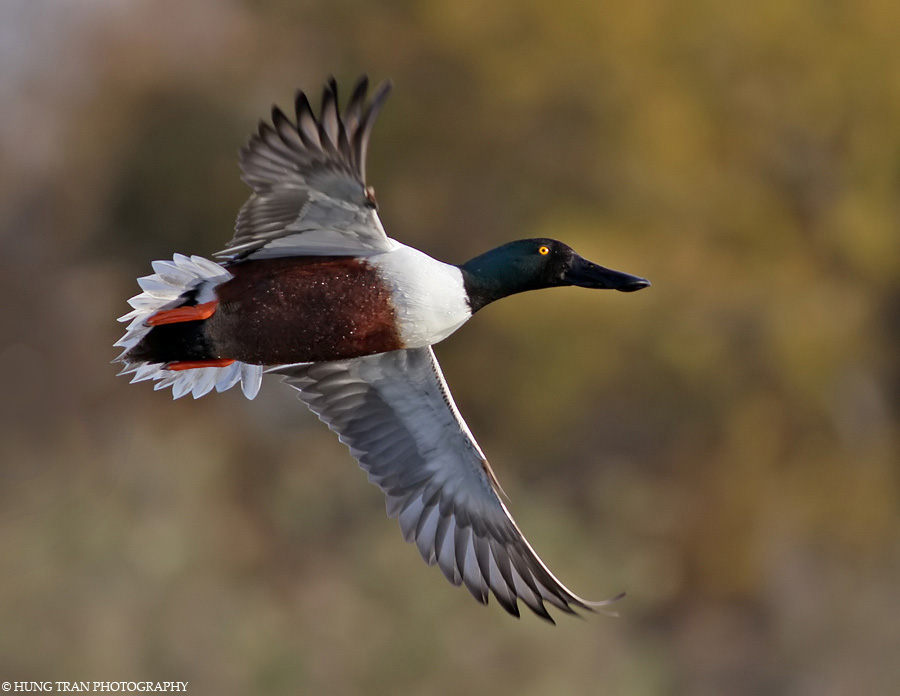
Saturday, December 12, 2009

Back to basics at San Joaquin Wildlife Sanctuary

1) I've been spending some time at the local San Joaquin Wildlife Sanctuary in Irvine. Winter time is a great time for nature photography due to the great influx of migratory birds here to southern california. The fresh air and sound of the wind blowing through the reeds does wonders to relax the weary soul after a long week at the office. It was also good to get back to my roots which is wildlife/nature photography. For this 1st shot, I present an American Avocet. My friend Tom was generous enough to let me borrow his Canon 5D Mark II for a few days. I took it for a test spin and was quite impressed. This was the best shot from my brief outing this his camera.


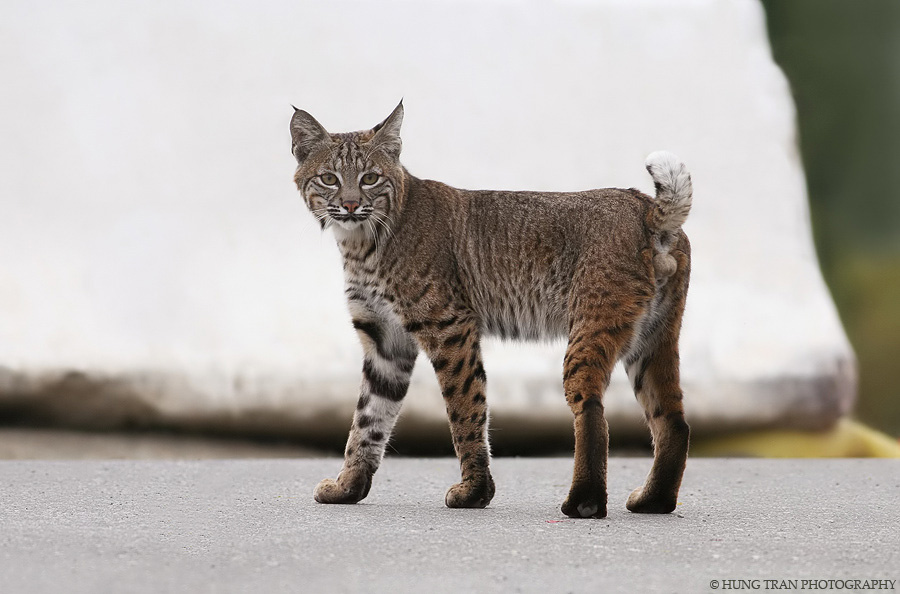
2) The rest of the photos in this series were taken with my old trusty Canon 20D. Here we see one of the local Bobcats which call San Joaquin Wildlife Sanctuary home. This photo was taken about 2 miles from my home. It always thrills me to find wildlife in such a suburban setting.


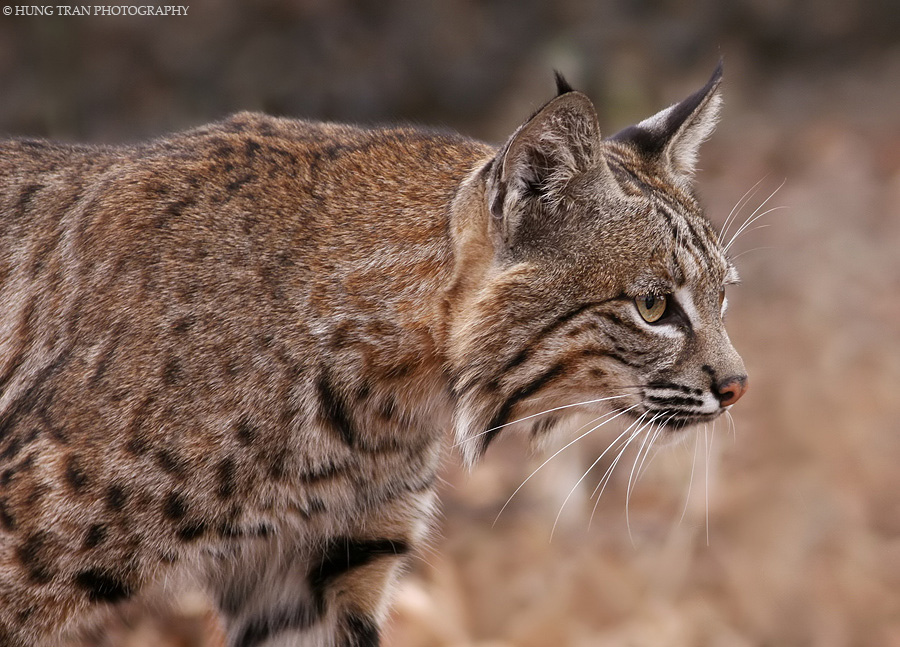
3) A close up shot. I always try to get a tight shot of my subject. It really brings the viewer into the shot. It creates a certain intimacy with the subject instead of just seeing it off in the distance. This requires expensive telephoto lenses. Be warned, wildlife/bird photography is not a cheap hobby.


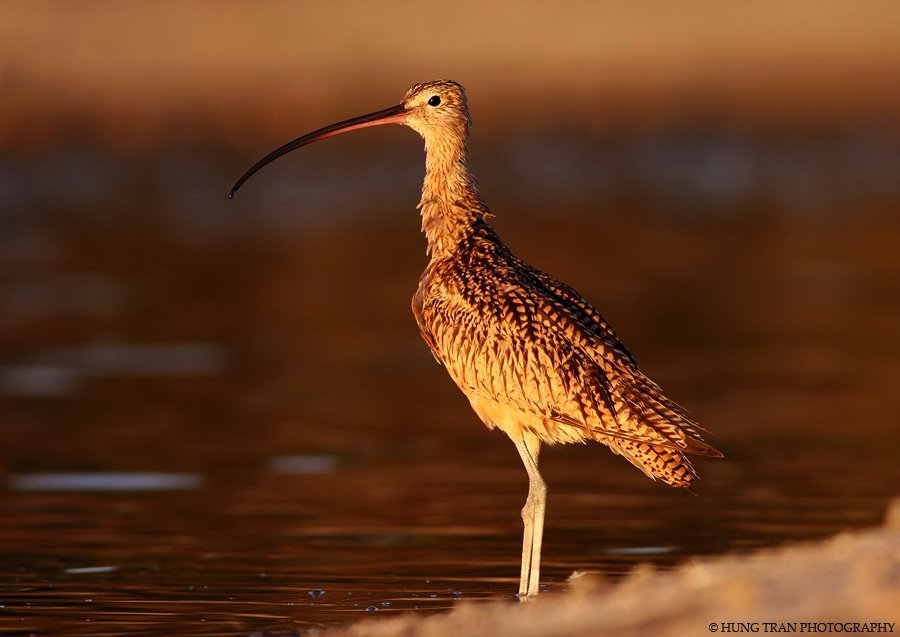
4) The best time for nature photography is either the 1st morning light or the late evening/sunset light. This is referred to the golden light. It gives the pictures a warm color tone. Plus depending on how you position yourself in relation to the light on your subject, you will be able to get a more even exposure of your subject. This helps to avoid the harsh light and shadows you will get shooting around mid-day. I shot this Long Billed Curlew right before sunset.


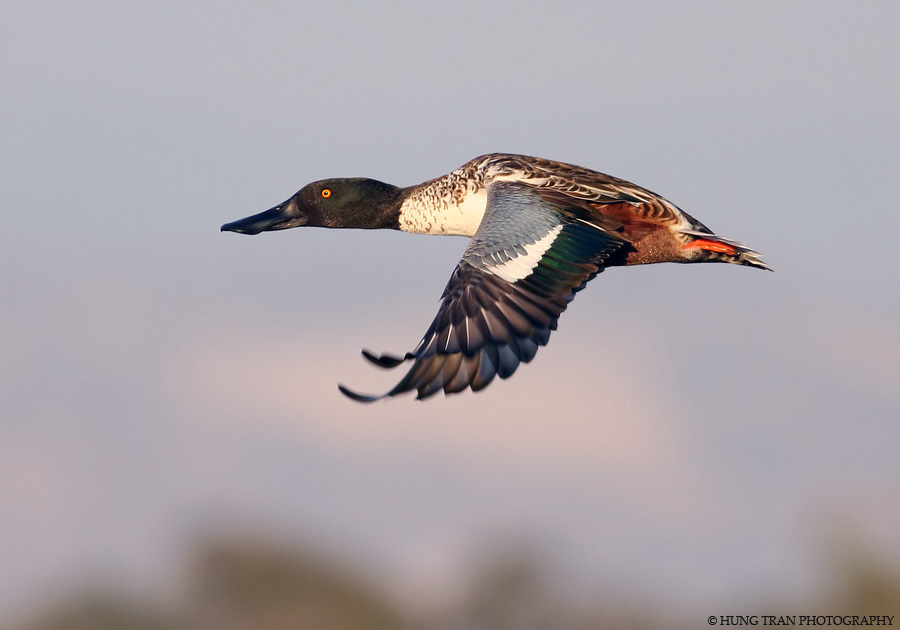
5) When you photograph a bird in flight, you are capturing it in it's most natural and beautiful environment. It is quite a challenge to get a sharp focus lock on such a small target zooming through the air. I use a Canon 400mm f5.6 lens which was designed so perfectly for photographing birds in flight. It just snaps into focus instantly. It's light enough to shoot hand held without a tripod. This lens is sharp wide open which gives you plenty of light to keep your shutter speed up to freeze the motion. Without a doubt, it is my favorite lens out of my collection. Here we have a Northern Shoveler.


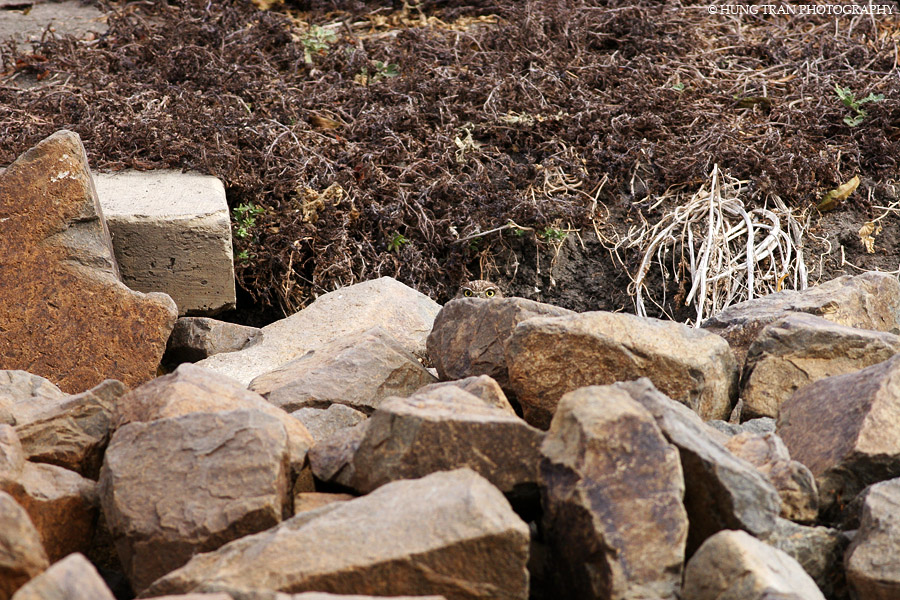
6) Can anyone spot the Burrowing Owl in this shot? This was a first for me. I have never photographed an owl before, let alone a Burrowing Owl. It is the only owl that digs a hole in the ground to nest. This little guy was about the size of plump orange. This shot cracks me up seeing it peeking out from behind the rock pile.


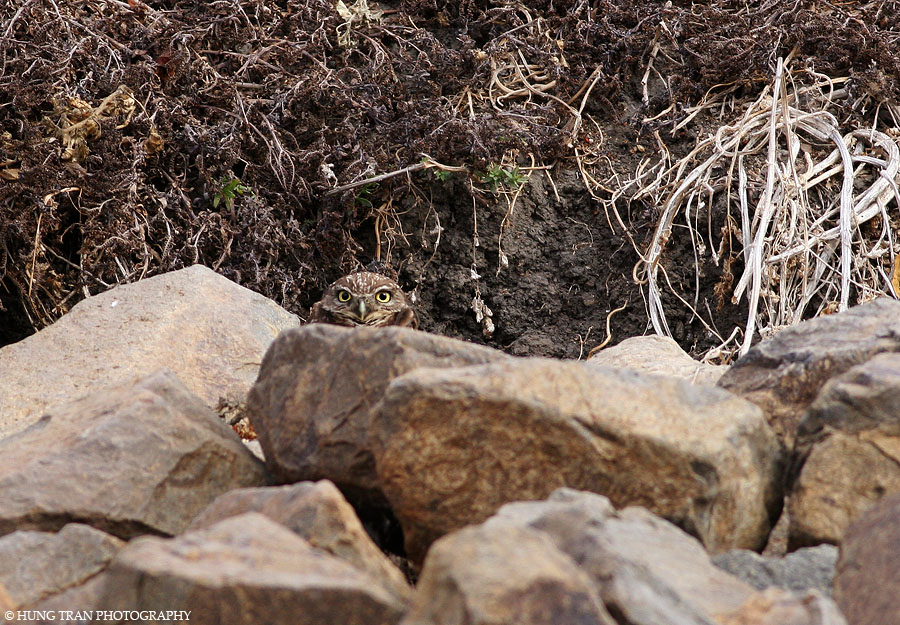
7) Here is a closer shot of it. I didn't want to spook it, so I stayed a respectful distance away.


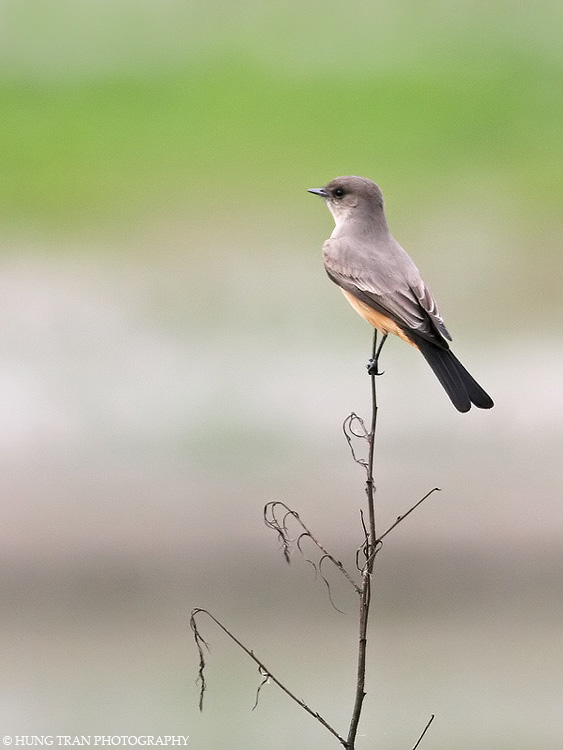
8) Even though the focus of wildlife photography is on the subject, you should not forget the background. The background is like a canvas on which you want to showcase your particular subject. I try to keep my backgrounds as clean and non-distracting as possible. When you shoot with a telephoto lens with the aperture wide open, you can often get clean shots like this where the background is blurred nicely. I took this shot of a Say's Phoebe on the side of a walkway between 2 ponds. The green came from a patch of grass which was growing on the opposite bank of the pond. Even though the subject is not as sharp as I would have liked, I kept the shot because I really dig the clean, soft, water color green background. I thought it made for a peaceful composition.


9) When the temperature drops during winter time, the Cedar Waxwings from the local mountains will come down and pay us a visit. They feast on the winter berries and will usually be gone in about a week. A whole flock will descend upon a berry bush and pick it clean.


10 ) This is a classic Cedar Waxwing shot. After they pick the berry they will flip it into the air to swallow down. You can also see a 2nd Cedar Waxwing in the back in mid bite. It would have been awesome if I had caught them with both berries in mid air. Haha.


11) Sometimes when the action is fast and furious, I just hammer down on the shutter button and let loose with the 5 frames per second. When I get home and review my shots on the computer, sometimes you get lucky and catch an interesting action shot like this one. One bird is coming in for a landing, while another one is taking off with a berry in its beak.

Sunday, October 25, 2009

Madison's Photo Shoot

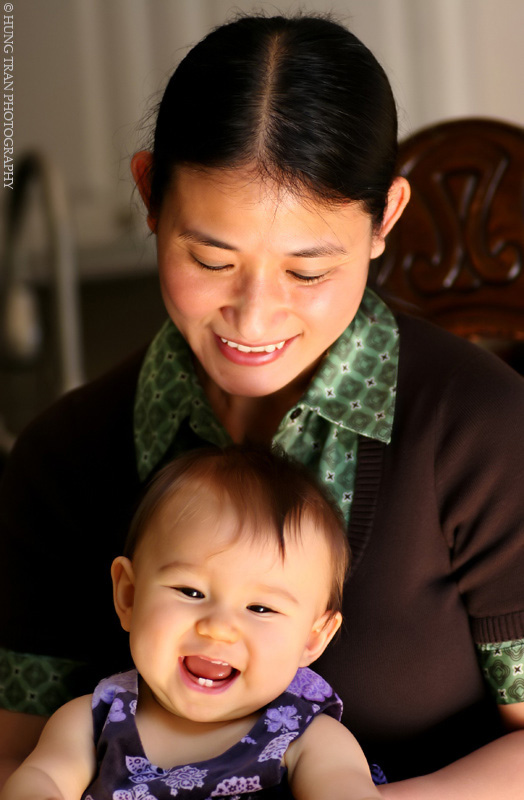
Today, I had the pleasure of doing a photo shoot with the adorable Madison. Her mom (Bic) is my cousin. I asked Bic to design my upcoming photography portfolio website. In exchange, I was more than happy to photograph her family. It was a fun shoot and Madison was very cooperative. Normally shooting babies this age can be very challenging because they won't sit still or they will be looking in the wrong direction. At least, this has been my experience from trying to photograph my kids for our annual Xmas card. Hah! Madison however, was very comfortable in front of the camera and smiled easily for me.

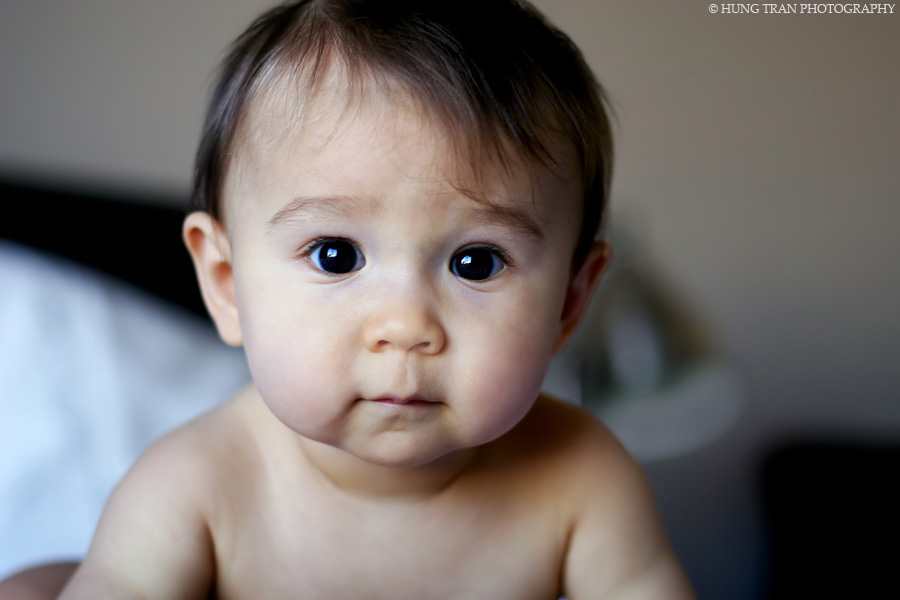
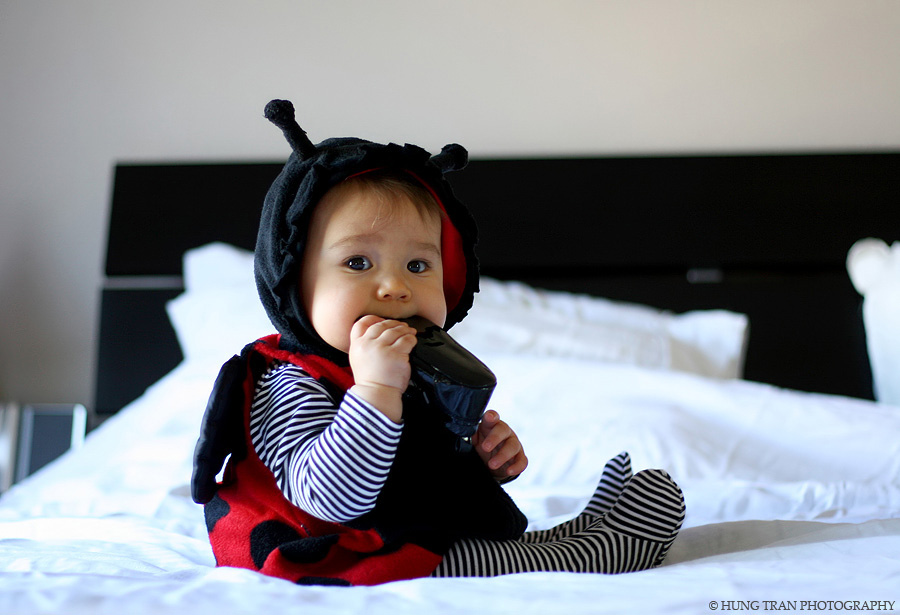
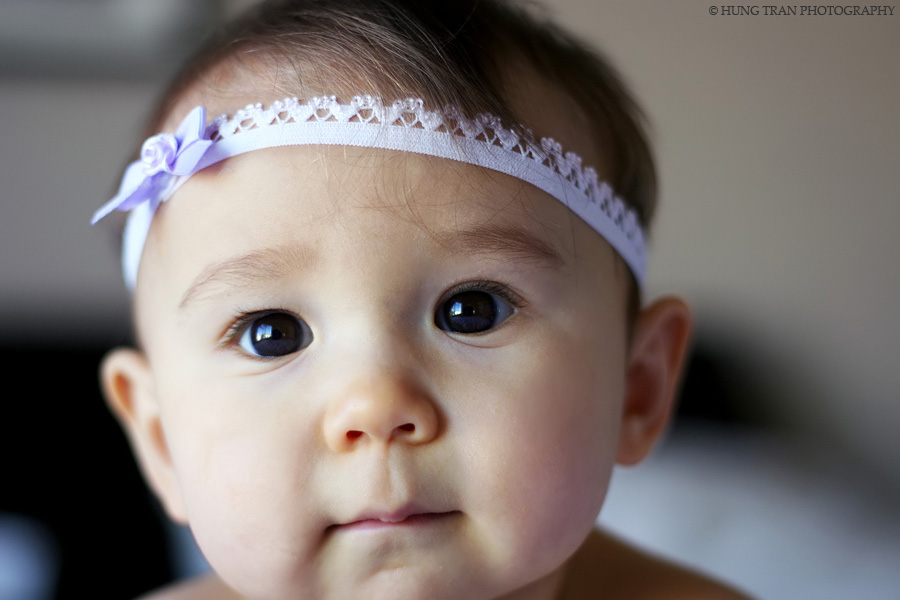
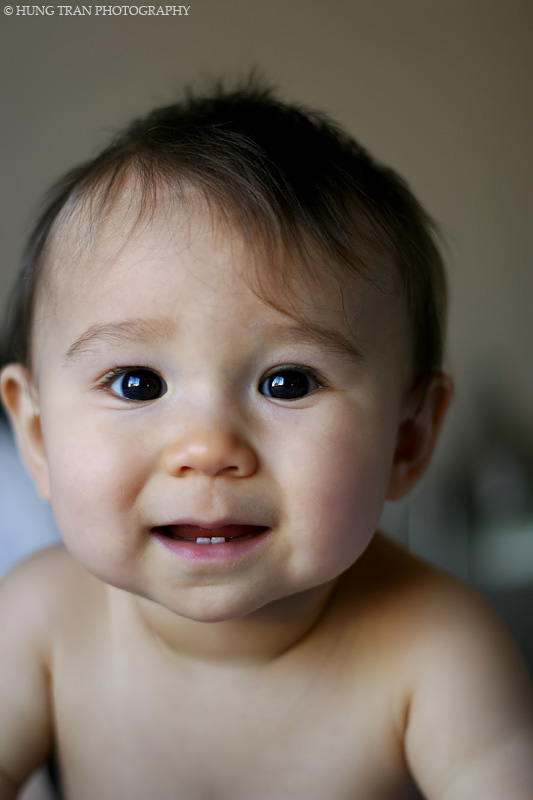
1) Let's start with a simple natural shot. We set up a mini studio in their upstairs bedroom. We had great light coming in from the window and we just threw a white sheet on the bed. Babies have such nice skin tones. Look at those huge eyes.


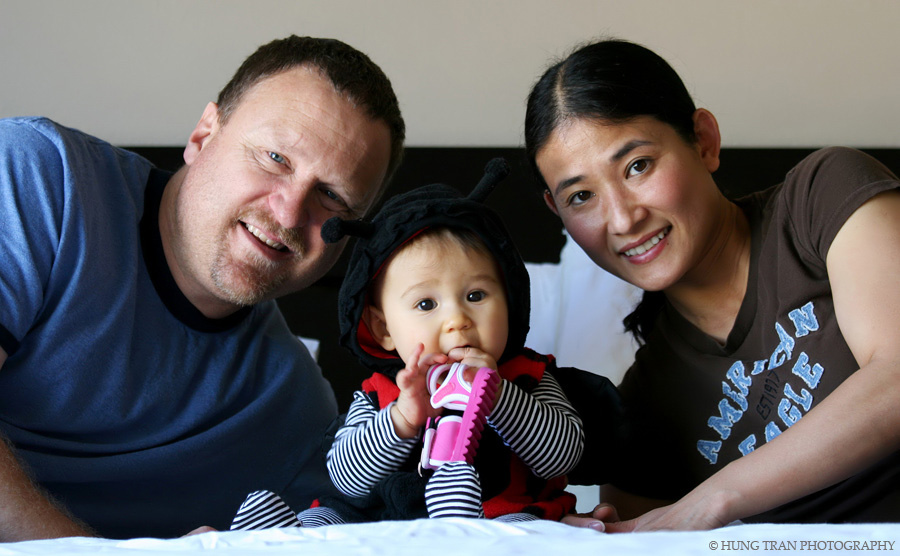
2) Here's a peek at Madison's Halloween costume, a Ladybug. Madison is currently teething and enjoys a nice afternoon snack consisting of her shoe. Munch! Munch!


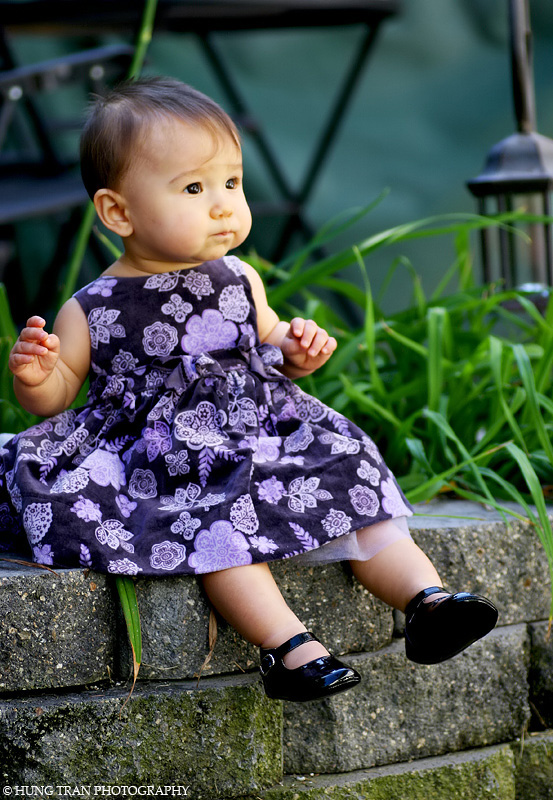
3) I asked Madison to strike an elegant pose for me. She gave me the classic "looking over my shoulder while pushing a wall" modeling pose. What a natural. I'm very happy with the dress choice. The colors and patterns made for great shots.


4) I like the sharp focus on the eye in this shot. It really pulls you in. That is critical for any type of portrait shot. The eye (at least the closest one to the viewer) must be in focus for the shot to be usable. I always shoot with my camera set to center point focus only. Even though modern day dslr cameras a very smart and are suppose to employ predictive focusing algorithms, there is always room for error. By using the center point focus only, I am basically manually pointing the camera to focus exactly on the spot I want. I learned this while shooting birds in flight. The camera focus so much faster and successfully when you use the center point focus only. This is important when using telephoto lenses or wide open primes which have very shallow depth of fields. If the camera miss focuses on something in front or behind of the eye this renders the eye out of focus and the shot is worthless. No amount of photoshop can fix that. When you put the center focus point on the subjects eye, it gives the camera a nice contrasty area to focus lock on. You will find that you get more in focus usable shots this way. You can always focus lock on the eye first and then adjust the framing of the shot afterward if need be.


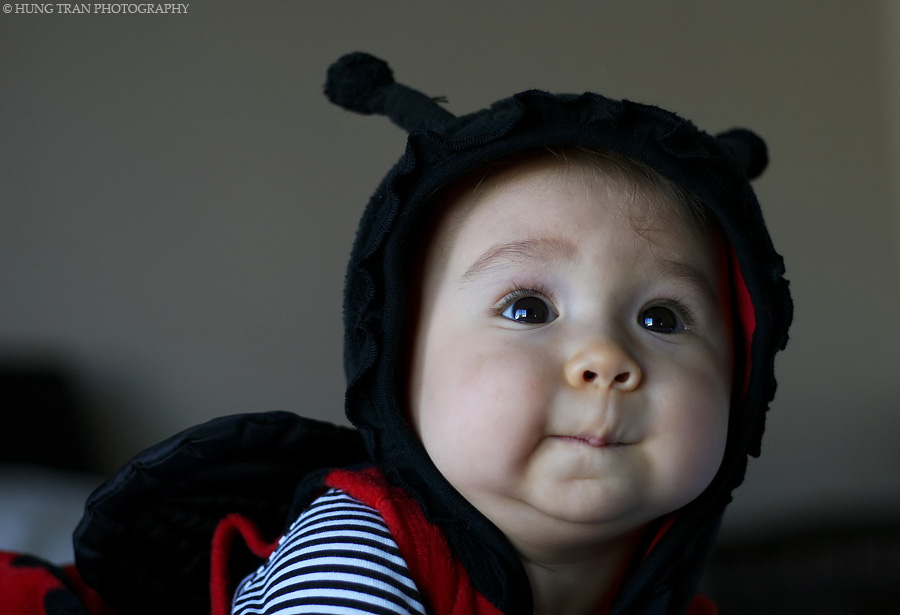
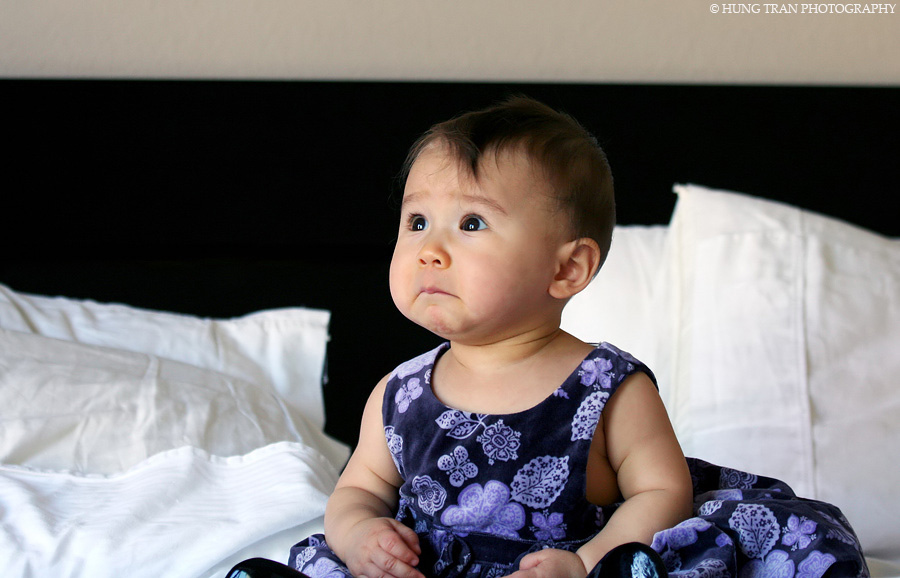
5) What a funny expression. Not sure what she was thinking about.


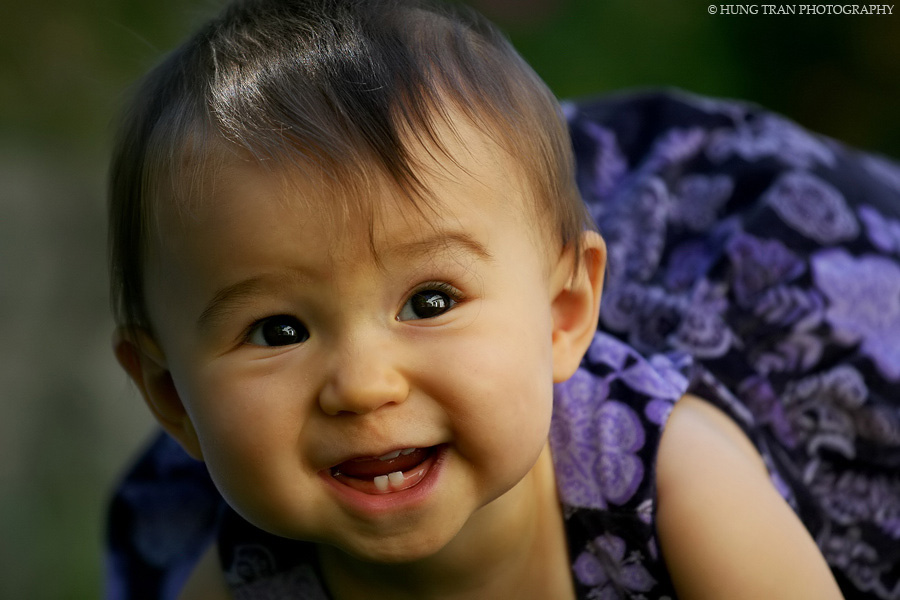
6) I got my 2 front teeth! I took this shot in the shade of the backyard. The green grass and surrounding lush green foliage gave a slight green tint to the skin tones.


7) Just chillin on the brick fence.


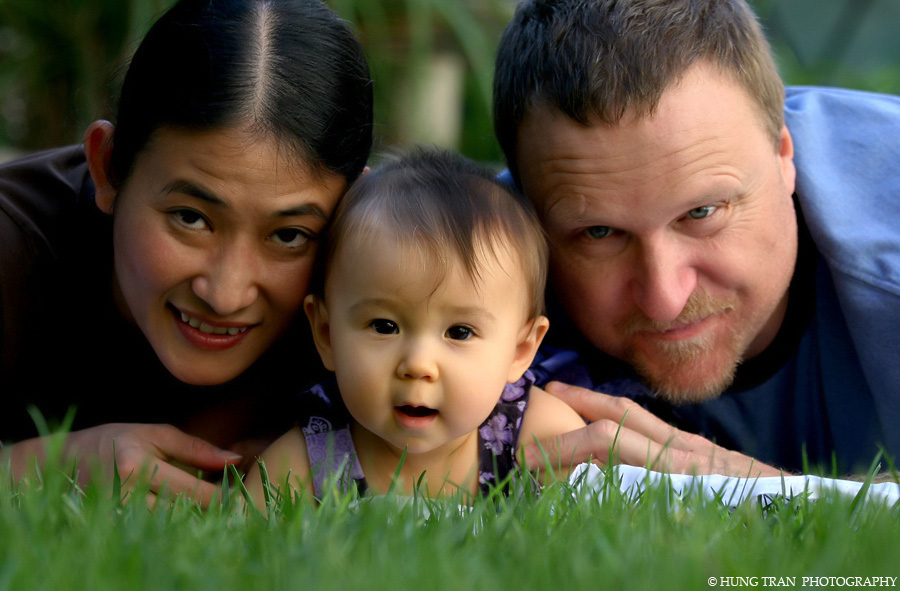
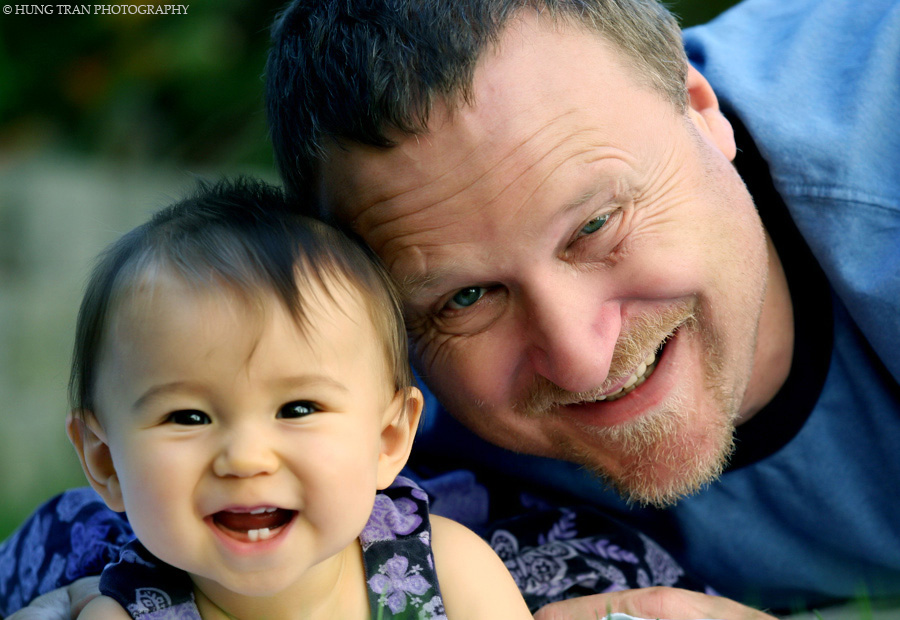
8) We spread out some bed sheets on the grass and let Madison crawl around. I was on my belly shooting some low angle shots, when it occurred to be to have both Bic and Keith get in on the shot too. Now everybody was laying on their bellys on the grass.


9) This was shot in their kitchen. We had some nice window light reflecting off their hardwood floors and illuminating their faces. I used Neat Image to smooth out their skin tones.


10 ) Another belly shot. This time everybody is looking at the camera. I think out of the two, I prefer the other shot because Madison has a more interesting expression on her face.


11) Lunch time. During the middle of the shoot, Madison started licking her lips. That's her way of saying, feed me! We took a break from the Photo shoot so that she could down a jar of baby food. I took some quick shots over Keith's shoulder while he was feeding her.


12) We tried to attach a little bow to her hair but it wouldn't stay. Madison did not agree with it and kept on taking it off. We settled for this headband.


13) One of Madison's toys. I like how the green glows against the dark counter top.


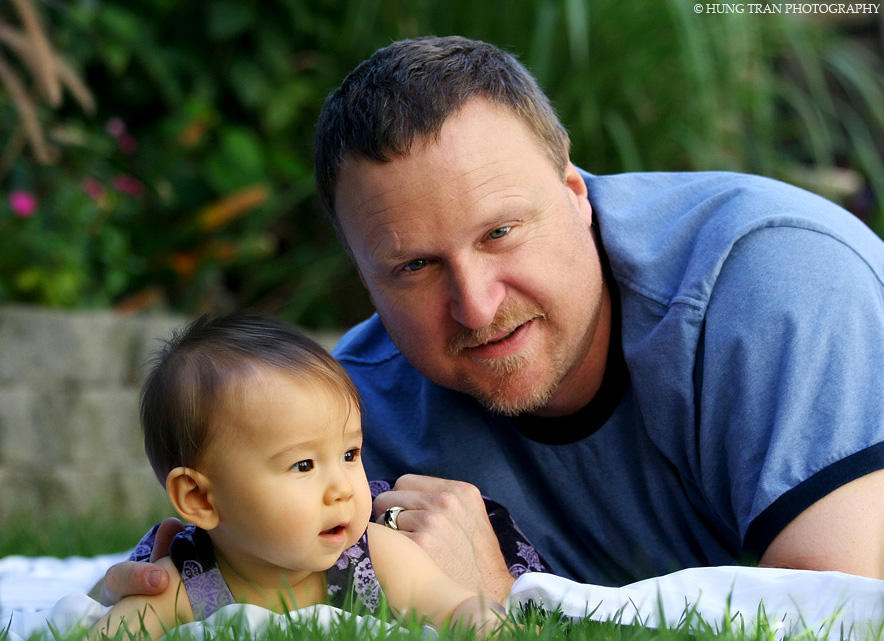
14) I wanted the juxtaposition of size between Keith and Madison. She's so tiny next to him.


15) Family shot. I wanted to use my external flash for this shot to give the colors more pop. However, the disposable batteries for my flash died. We ended up moving the couch to the other side of the living room to catch more of the window light. Remind me to purchase some rechargeable batteries.


16) More munching...


17) Bic seems so peaceful in this shot. Ah the beauty of motherhood.


18 ) Hi there!


19) Even her frowns look cute. Hehe.


20) I had to reprocess this shot a couple of times before I was happy with it. For some reason, Keith's face had a lot of red color tones. As I tried to adjust the contrast, it made the redness more apparent. I ended up pushing the cyan color tones to neutralize the red a bit.

My life one click at a time...